Showing posts with label spellbinders. Show all posts

Friday, 17 January 2014

A Quick Birthday Card

Good Morning
Mel here, this week I wanted to share with you a simple little Birthday card
Its a nice simple card that you could make from most things in your craft stash


I took my card blanks and the yummy DCWV Juniper Berry paper stack


Next I took one of the papers from the stack and stuck it to the card blank leaving a small border


I then took a piece of white card and offset sticking onto the card too. I added dash lines all round the edge of the white card using a blue marker (not shown here)


Using the scraps I die cut some flowers and one of the Spellbinder circles using my Big Shot


I then layered the flowers my size added foam pads for some dimension then sticking to the top part of the white panel


I took some blue twine and tied a double bow and stuck to the flower centre


Adding a large clear stoned brad to the centre too


I then stamped a sentiment onto my ticket die-cut using Broken China Distress ink, sticking into the flower before finishing off with a stamped sentiment on the panel below the flower


As you can see its a nice simple card but rather effective!
A great wee last minute/quick card that we always need to rush to make! Please remember there is still time to get a bargain in the Clare Curd Crafts SALE!!
Well thats me for today, until next time!
Have a great day

     Spellbinders Nestabilities Lacey Circles   Memory Box Die - Fabulous Phlox
       Clare Curd Crafts Die Cuts - TICKET (blank for your own message)

Friday, 4 October 2013

Birthday Basket

Happy Friday

Its Mel here again and this week I wanted to share another wee tutorial post, something simple that doesn't need lots of crafty materials things that wee all have in our stash


Doesn't it look rather pretty and filled with some sweet treats will make a great gift for that very Special person on their Birthday!

Now firstly You will need a piece of 12x12 card divided equally up in to nine 4x4 square


Next you want to make two pendant style triangles in the two middle square as below, I did this my measure 2 inches in to the middle on bottom edge then drawing to lines out to the centre. Once you have both sides done cut away the waste area


Next on the outer squares measure three panels at 1 1/2', 1 1/4', 1 1/4 inches as below


Do this on all the corners then cut down the lines and these will form the sides for the Birthday Basket


Then on the inner two panels you want to trim off a small tab, about 1/2 inch ( I use a ruler width )
You can see below


Next you want to decorate the outside of the basket, I used some of my American Crafts Shoreline papers and then used an red alcohol marker on all the edges!


Now comes the tricky part
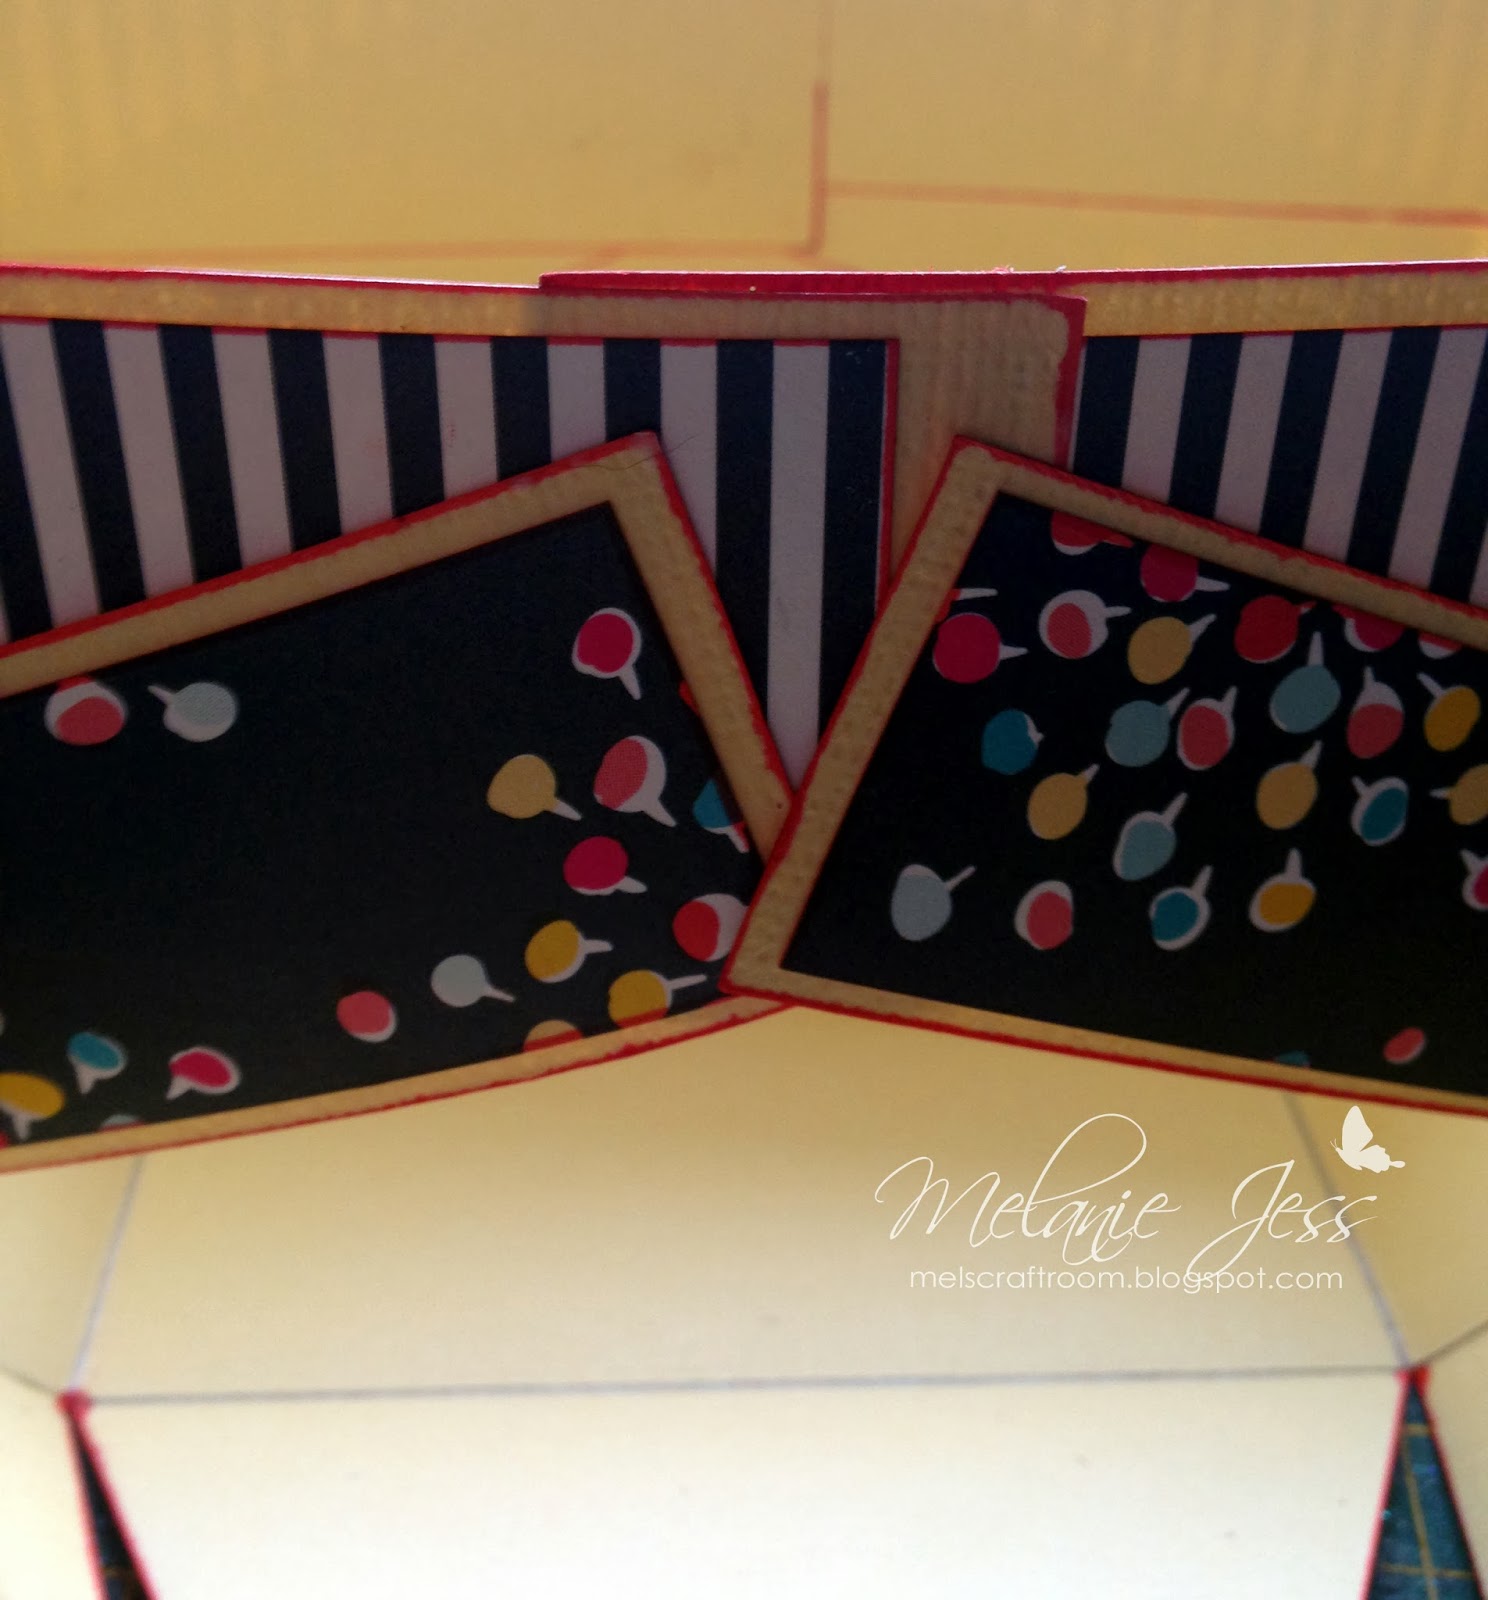
You want to stick the opposite tabs together, about an inch over lapping as you can see below


Then you want to stick the other panels together too, overlapping the first panels and each side


on all 3 panels


Next stick the triangle pendant up, you might need to hold this in place for the glue to stick or maybe use paper clips to hold in place while you work on the other side


I then stuck down the side panels, again edged with the alcohol marker


Then add a handle, 2 inches wide by 12 covered with more of the delish American Craft papers. I then added a birthday sentiment layered with spellbinders on matches papers with a few little paper roses to finish


Once finished add some tissue paper and some sweeties for that Special someone
I hope to find out if you all make a wee Basket for yourself
TTFN


        Clare Curd Crafts Die Cuts - Pom Pom Flower
    Spellbinders Nestabilities Lacey Circles     Spellbinders Nestabilities Standard Circles

Friday, 23 August 2013

"On yer bike!"

Hello everyone

its Friday which means its time form a post from little me, Mel and I wanted to share with you the most stunning summer themed paper Shoreline from American Crafts!


I'm such a paper magpie and these papers just needed to be in my stash and I knew they would make the perfect birthday card for a special friend


The wee card is a "Z" fold and is soooo simple to make
Here's how


I used the lush papers, card blanks and some yellow card stock from my stash to make the main card and everything else I used to decorate was in my stash too

Firstly I took 2 to 6x6 card blanks folding them and then taking one and cutting an inch of one edge and then cutting the other card down to 4.5" square

Then I started decorating the inside and front panel of the large card by layer with the yellow card and the Shoreline papers


after that I stuck the small card blank to the inside of the large card with the opening going the opposite way. This forms the "Z" shape of the card, then decorate


I then used my spellbinders to make a small ornate frame for a birthday sentiment, you could use the Nestabilities Labels 25 to get the same effect and even better is they are on sale!


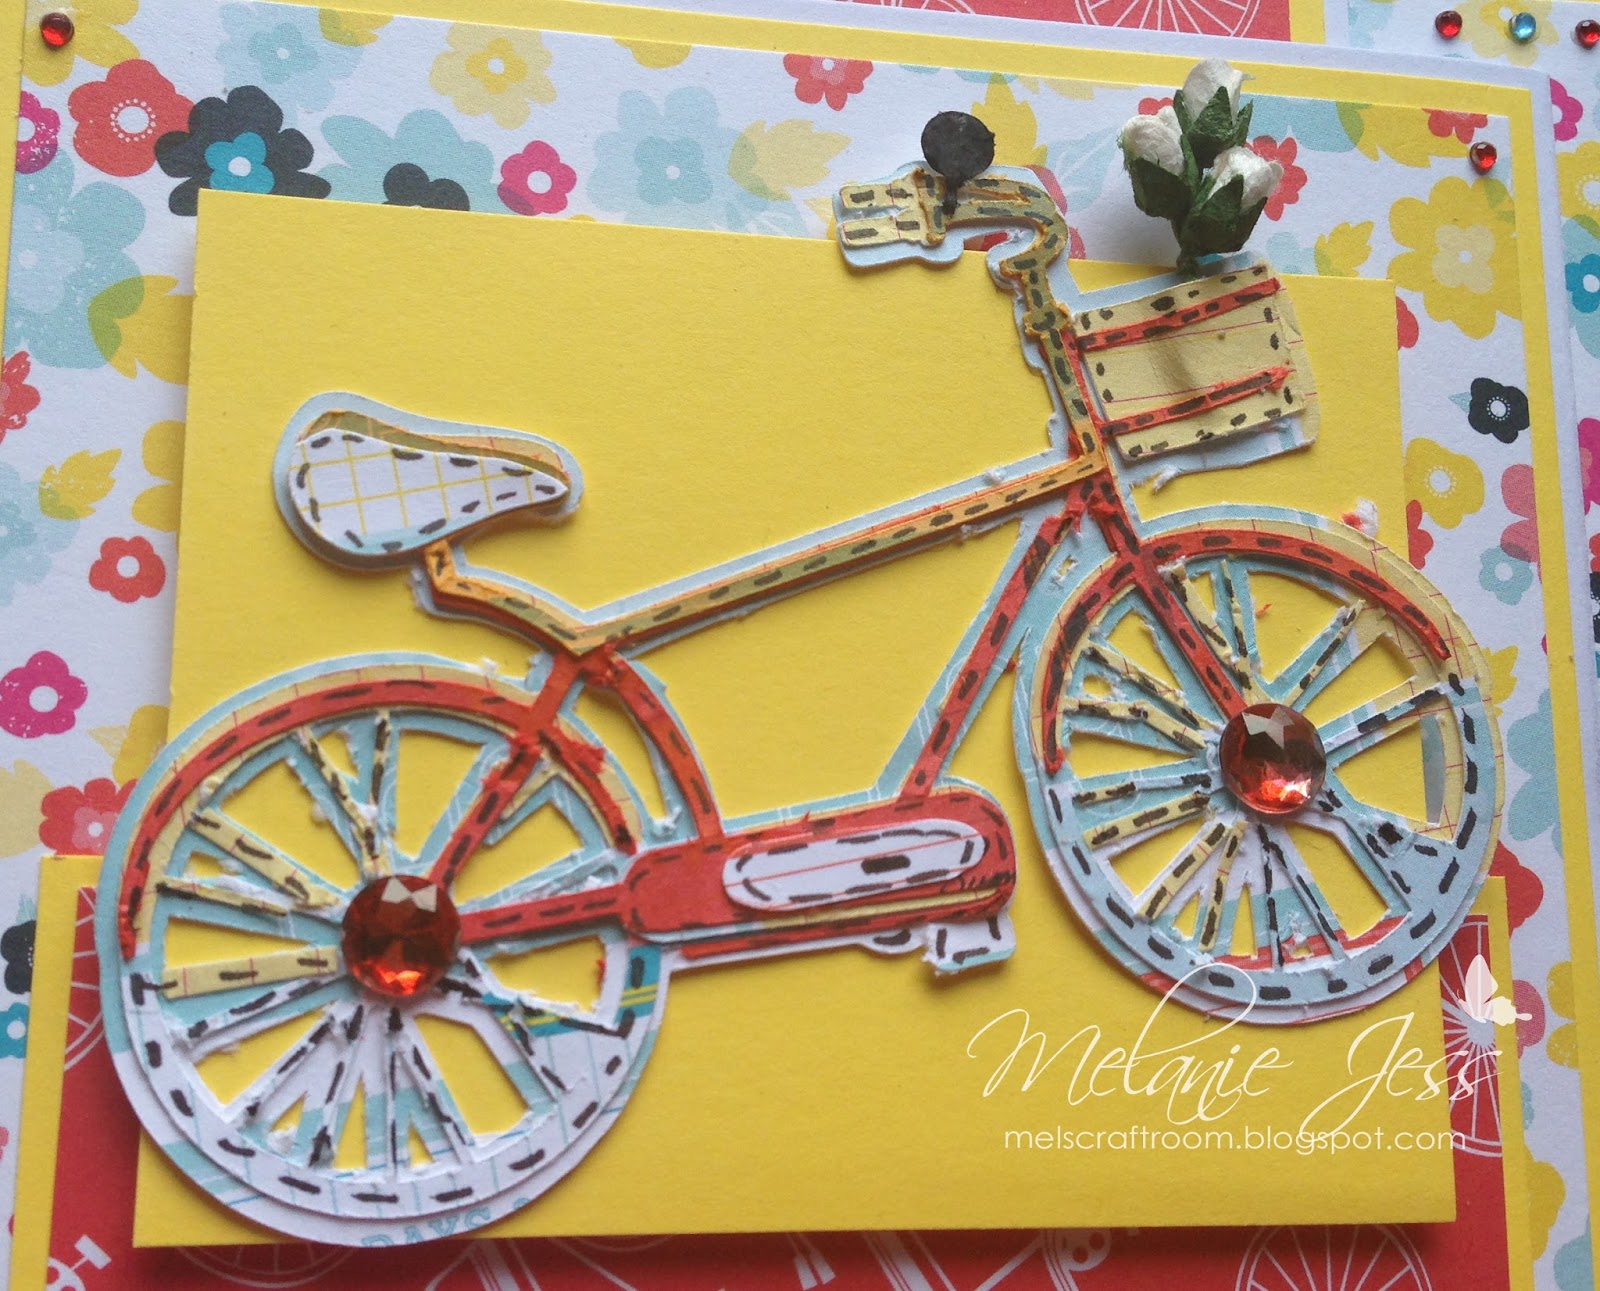
Then using my trusty Silhouette cameo I cut out this layered Bike added gems and flowers to the basket and highlighting with a black marker


and after added some Craftwork Sentiments and more gems the card is finished


I hope to see you all try the "Z" fold card and if you do leave a wee link in the comments section so I can see what you have done!