Showing posts with label DCWV. Show all posts

Friday, 17 January 2014

A Quick Birthday Card

Good Morning
Mel here, this week I wanted to share with you a simple little Birthday card
Its a nice simple card that you could make from most things in your craft stash


I took my card blanks and the yummy DCWV Juniper Berry paper stack


Next I took one of the papers from the stack and stuck it to the card blank leaving a small border


I then took a piece of white card and offset sticking onto the card too. I added dash lines all round the edge of the white card using a blue marker (not shown here)


Using the scraps I die cut some flowers and one of the Spellbinder circles using my Big Shot


I then layered the flowers my size added foam pads for some dimension then sticking to the top part of the white panel


I took some blue twine and tied a double bow and stuck to the flower centre


Adding a large clear stoned brad to the centre too


I then stamped a sentiment onto my ticket die-cut using Broken China Distress ink, sticking into the flower before finishing off with a stamped sentiment on the panel below the flower


As you can see its a nice simple card but rather effective!
A great wee last minute/quick card that we always need to rush to make! Please remember there is still time to get a bargain in the Clare Curd Crafts SALE!!
Well thats me for today, until next time!
Have a great day

     Spellbinders Nestabilities Lacey Circles   Memory Box Die - Fabulous Phlox
       Clare Curd Crafts Die Cuts - TICKET (blank for your own message)

Saturday, 28 December 2013

Potted Poinsettia

Afternoon my lovelies

I do hope that you all had a great Christmas and that Santa was good to you? I was totally spoilt rotten and so was hubby too! Even with the "lurgie" we all had a fantastic time with the family!

Mel here with my wee post


I made this wee potted Poinsettia plant using my Silhouette Cameo and the delish Botanical Noel papers and alcohol markers! Everything else was in my stash!

They were very easy to make and made the perfect wee Christmas Gift!

Well off to catch up on some cleaning and ironing!
Have a great day everyone


Spectrum Noir 6 Pen Set - GREENSSpectrum Noir 6 Pen Set - REDS

Friday, 20 December 2013

Let it Snow

Good Morning

Ekkk not long now! If like me your still big kid at heart you'll be all excited that its nearly time for Santa to come! I'm all ready super hyper, my big brother gets home later today and literally can't wait too see him! Best Christmas gift ever hehe

Ok enough of my hyperness
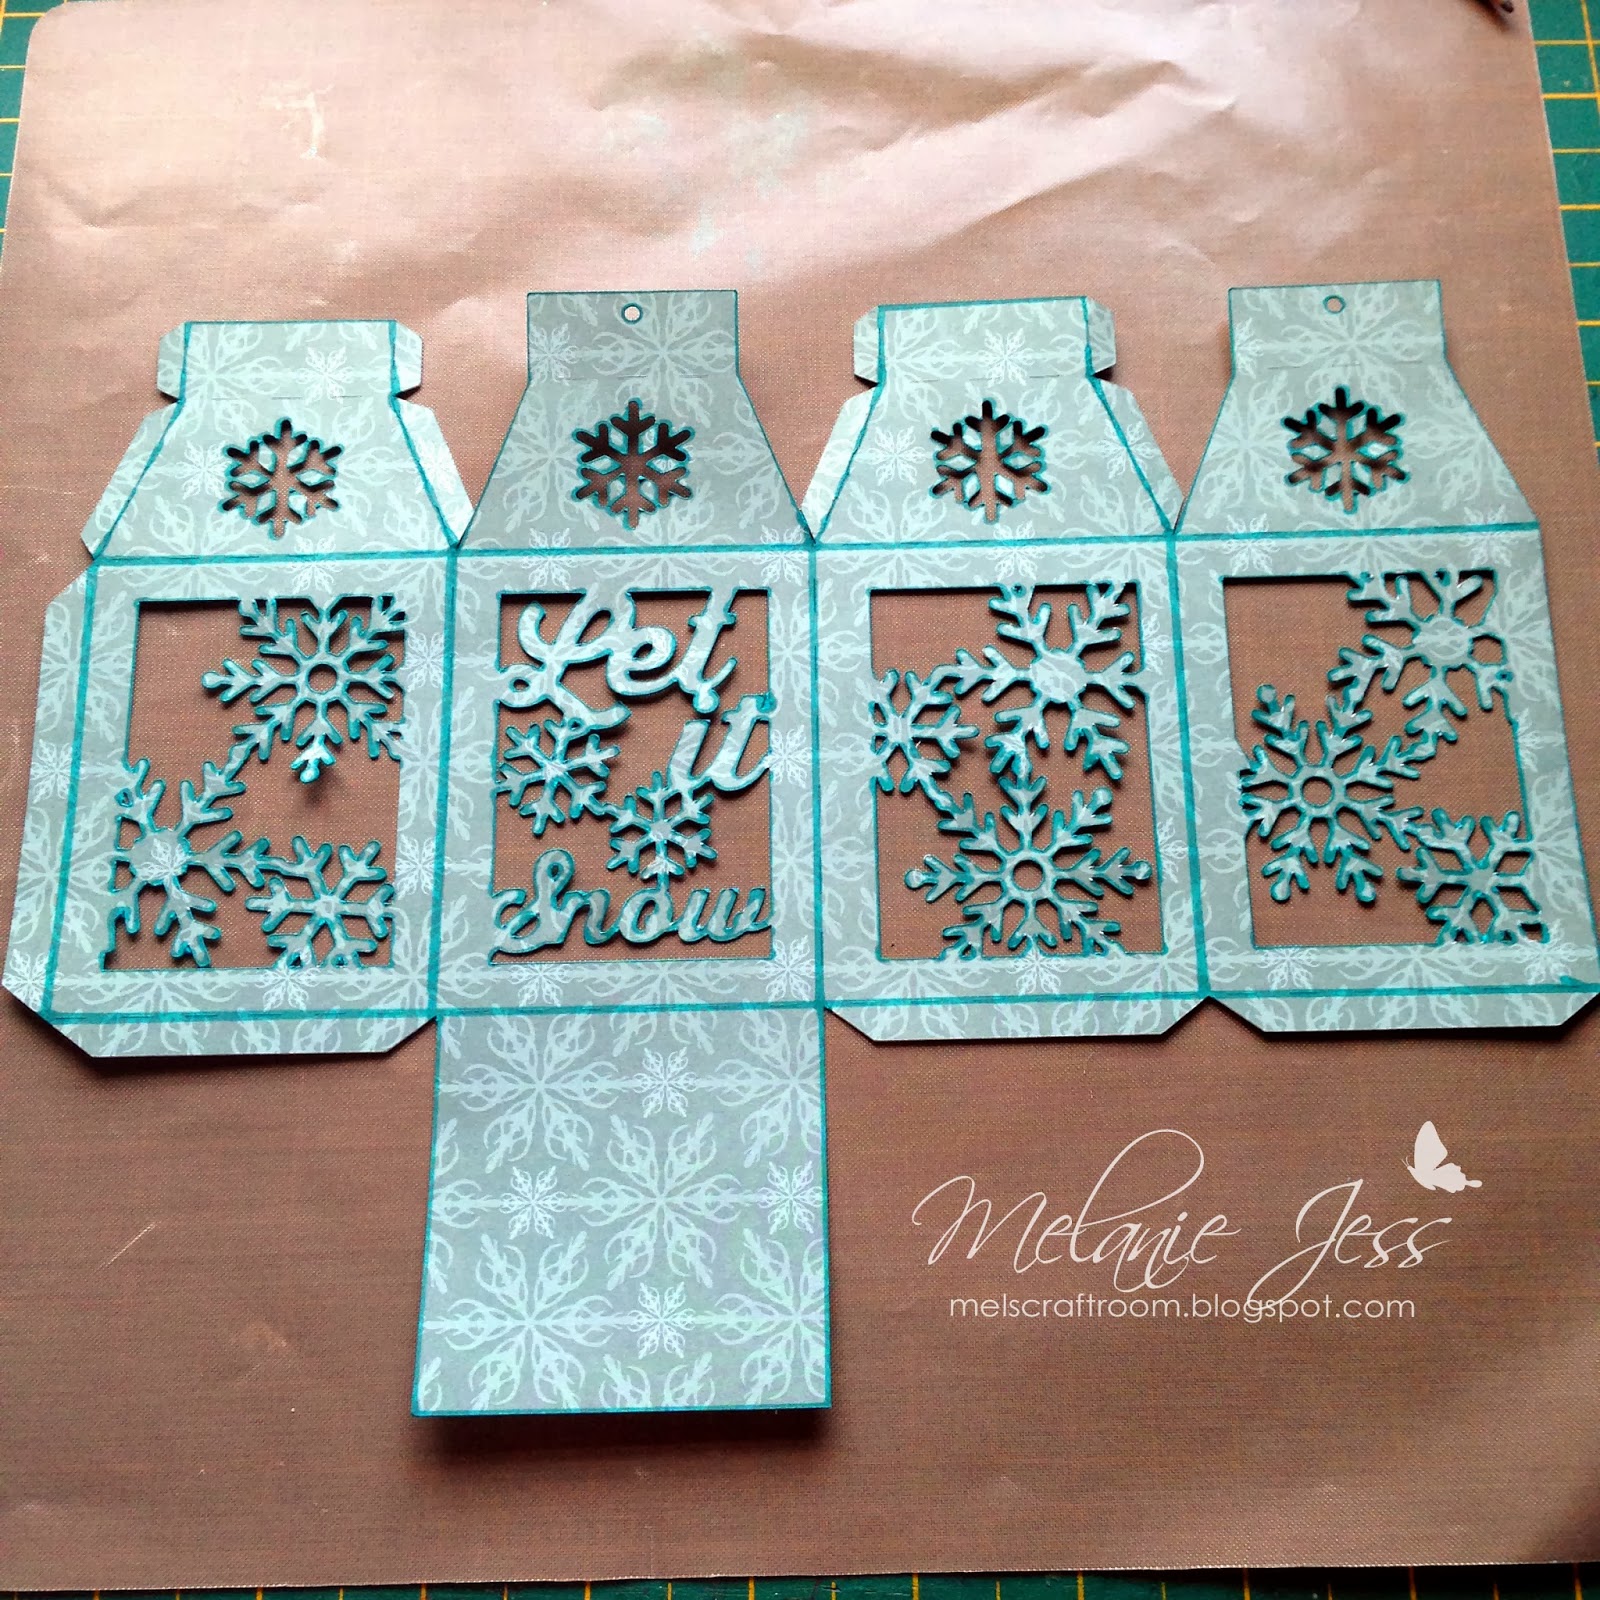
This week at Clare Curd I created a wee last minute Christmas decoration using my trusty Cameo


Isn't it cute and perfect for one of those faux flicker candles or some sweeties for a lucky friend!


Firstly I opened the file up on my laptop and cut it out on the delish Recollections Botanical Noel papers and the other panels in some turquoise vellum from my stash


I then went round all the edges with a turquoise marker as you can see below. I feel it helps the Snowflakes stand out better


Next I stuck down the vellum on the inside of the holder making sure I added glue to the snowflakes so they wouldn't move about and get damaged. Below shows all the panels on. All that's left is to glue the tabs and stick it all together


above you can see I have added the handle using brads but you could always just stick it with glue 


Next I added gems and glitter to finish


Its a nice wee easy project and would be great with the kids! You could make lots and have them all hanging like a lantern bunting! A great wee Christmas project!

I hope you enjoyed my simple wee tutorial! You can find the lantern decoration file here if you want to have a try yourself!

Take care and all have a great weekend! I know I will


Recollections 12 x 12 paper Pad - BOTANICAL NOEL     Teresa Collins - Everyday Moments Brads      Spectrum Noir 6 Pen Set - TURQUOISES

Friday, 22 November 2013

Winter Night Advent

Afternoon all

Today I want to share with you a little Christmas Advent Calendar I made with the help of my trusty Silhouette Cameo!


The svg file I used can be found here and for only $1 its a little bargain!


Firstly I gathered together my stunning Juniper Berry cardstack and some white 12x12 card before running it all through the silhouette and cutting out all the pieces needed!


First I took the Interior Boxes to start making up to form the first part of the Advent


I found it easier to lay the cube shape flat to stick down the little tab


then fold out all the side tabs for sticking on the Advent Back


Add glue to all the little tabs and then stick down onto the base as below


Make sure you keep the tabs right up next to the edge


Next start adding all the rest of the cube shapes but making sure you over lap the tabs as above and keeping the bottom tab flush with the edge


It should eventually look like a this above. sort of like a cube shaped beehive


Next your going to form the inner side panels


this time sticking the tabs to the inside until you form another cube shape


Using glue or sticky tape, stick the frame into the middle of the Advent. This can be tricky so start my angling it into one corner then gentle pushing down the rest. Stick down the other tabs on to the frame


Do this again for the outside panels, just the same way adding plenty glue or sticky tape to hole everything in place


Make sure you keep it right up against the edge as above


It will look something like above but please stick down all the tabs (I didn't and struggled getting the next bit into place)


Take the Calendar Top part, sticking it down on the whole frame with plenty glue! Before I stuck it down I ran a blue marker round all the edges to match my colour theme


Keep it as close to the edges as you can. I added lots of glitter glue at this point and set it aside to dry


Take the Calendar Drawers you've cut out, I done these in the Juniper papers


and just start sticking the tabs down to form the little box


When you have them all made up, stick on your numbers


I added some more glitter glue to the numbers at this point

 While everything was drying I took the Interior back panel and decorated. I used a piece of dark blue from the stack, some scrap white to form the snowy hills and then using some kraft card I cut out a tree shape using my Memory Box die. Then I stamped out the tiny snowflakes stamp from the Crafty Impressions Happy Holidays set and embossed them with some white powder from my stash before adding some more glitter glue to finish


I hope you enjoyed my wee festive Advent Calendar and please let me know if you create one yourself
Till next time


Dcwv Juniper Berry       Memory Box Die  - Budding Tree      Crafty Impressions A6 Stamp Set - HAPPY HOLIDAYS