Showing posts with label Vintage Photo. Show all posts

Friday, 29 November 2013

Poinsettia Wreath

Morning all
I hope you all have been having a nice week? Mel here again sharing another wee card made using my trusty Silhouette and fab Christmas papers


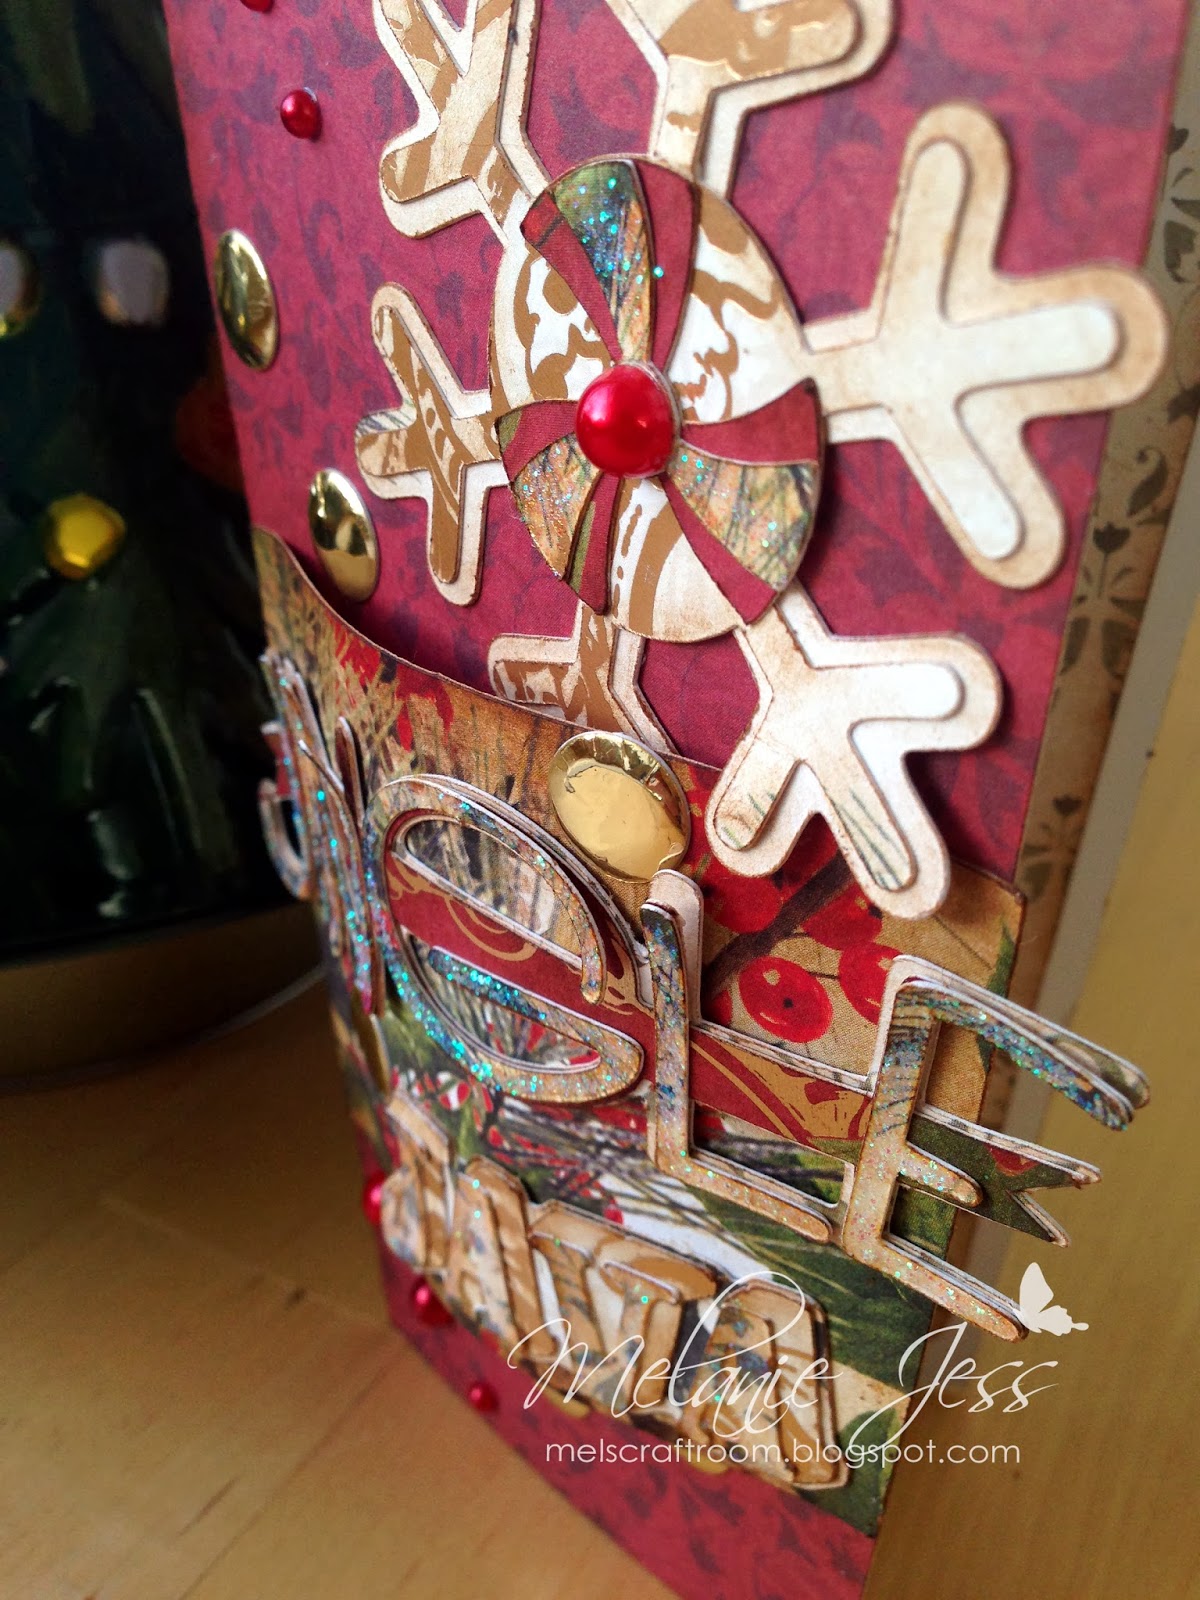
I cut all the components plus the card base using the delish Recollections Botanical Noel 12x12 papers before going round all the edges with red and then green markers to take away the harsh white edge. I then used my Vintage Photo Distress Ink on all the edges before making up all the poinsettia flowers, adding some gems to the centres. I finished the card off with some red ribbon and a touch of glitter


A nice simple card using my Silhouette letting the papers stand out!
Will off to enjoy my weekend!


Recollections 12 x 12 paper Pad - BOTANICAL NOELSpectrum Noir 6 Pen Set - GREENSSpectrum Noir 6 Pen Set - REDS   

Friday, 15 November 2013

Paper Cup Christmas

Hello again everyone

Well, Mel here again and its the most Wonderful Time of the Year and that means one thing ................... RED paper cups lol! Well come on, they only come out as this time of year and do love a tasty wee hot chocolate all wrapped up in its winter coat lol!


What better than a Christmas "Java" cup card to send to a coffee lover at Christmas, especially with the Red Cup season to inspire!


Using the delish "strokeable" Recollections 12x12 Botanical Noel, I run it through my Silhouette Cameo and made the cup shape and all the elements. The paper was a great weight for the card base and all the little elements plus stunning with all the gloss and gold detail on it


Once I had all the pieces cut I gently removed them from the paper and saved the cut offs to use for other cards!


I then took my Tim Holtz Vintage Photo Distress Ink and began inking all the edges of the elements, being careful not to rip the little pieces of the Botanical Noel paper


I then layered up all the my pieces as you can see above


Next I stuck down the wrapper and cup lid on to the card base. I made the wrapper slightly raised in the middle my coming down lower on the cup and sticking the edges together (holding till it set) giving the shape in the middle


Then I stuck down everything on to the card and added card candi and pearls from my stash before finishing with Ice Stickles Glitter Glue


I hope you like my wee cup and if you want to try it using a silhouette you can use the SVG file from here that I used! Again you could cut it all my hand if your a clever clogs unlike me lol!

Well I'm off, got a busy wee day ahead!
TTFN


Friday, 18 October 2013

Bibbidi Bobbidi Boo .....

Good Morning all

Well its Friday again and that only means one thing Mel here with another wee post! And this week I have gone all Halloween for you all!


Yeah I made a little pumpkin card with some more of those lush Hey Boy Basic Grey papers

Firstly I drew out my pumpkin on scrap paper than drew round it on a card blank before making panels with the papers, layering the vibrant orange onto brown to help it pop! I distressed the edges with Vintage Photo before sticking together and layer onto the card blank. Added some die-cut leaves then some swirl and gems to finish


A nice easy simple card but perfect for the season!
Well lovelies until next time TTFN


      BoBunny Jewels - (clear) GLAZE JEWELS