Showing posts with label ribbon. Show all posts

Wednesday, 19 February 2014

Vintage Birthday

Hiya crafty friends,

So excited to receive my new DT supplies from Clare Curd Crafts...they are gorgeous!!!

I have made a very femanine card. I really like how the embossing folder frames the entire 8x8 card. It adds detail with taking too much away from the decorated area in the centre.


I know you're probably sick of me saying it, but I LOVE Clare's ribbons, and I have to say this is one of my favourites. It is perfect colour for a vintage/Victorian look.


I used a Big and Juicy - Spice ink pad to stamp the background to give a gradient affect. What's great about the stamp is that it can be extended just by lining up and stamping next to the first stamped image. Which is what I did for this card as it wasn't wide enough.


 I used the same ink to stamp the sentiment on one of Clare's very handy die cuts.


I have listed all the supplies I used below


Availible from Clare Curd Crafts


Wednesday, 5 February 2014

Hiya crafty friend,

Well, sorry I have been missing of late. But here I am back and raring to go.

Today, for my Clare Curd Crafts project, I am sharing with you this little lady. What a cutie!

I used a cut file from Silhouette to make the body, using some great supplies from Clare. 

The Craftwork Candi's worked great around the eyes to make them 'pop'. And you have heard me raving on about Clare's ribbon before (love it!), which I used to tie the tote closed and give Ms a cute little bow in her hair, or should that be feathers :)


I've got a feeling someone is looking at me...lol ;)

See you next week (I promise)


Wednesday, 22 January 2014

Hiya crafty friends,

Phew! Where did the week go?

Well, I'm sat here writing this post, blurry eyed and looking at the clock, which says 3 minutes past midnight. And looking very similar to this owl...lol!


This is a great quote from the IndigoBlu Wild Meadow stamps set. Which I find quite inspiring. I used it as the main focal point of the card, as it is perfect to give a friend or loved one to show your support.

I LOVE this paisley embossing folder (and even better it is A4 size!!!), which I used on some patterned paper from the 'My Minds EYE Vintage Christmas' 6x6 pad. Which I then lightly sanded to give an aged look. The strips of paper are from the same pad and are off cuts from a project I made at Christmas (we crafters don't like to throw anything away, do we).


Clare Curds Crafts has an amazing array of ribbon. And this red satin ribbon is gorgeous!!
The stickers used are from the 'My Minds EYE Vintage Christmas' 12x12 sticker sheet. It's great when you can use Christmas stash at other times of the year too.


You know me...I have to add a tiny gem or pearl somewhere :)


I'm really pleased how the sanding of the embossed areas turned out on this paper.


For the final layer, I used the same embossing folder to emboss some pearlised paper.


As always, thanks for popping by and see you next week 


Wednesday, 15 January 2014

Watercolour Roses with Ditress Inks

Hiya crafty friends,

I love distress ink. They are so versatile.

For this project I have used a few different techniques with the inks...'watercolour stamping' (which I will be doing a tutorial on soon), stenciling and painting with distress inks.


The centre image was created using a combination of stencilling and painting with Spun Suger and Victorian Velvet Distress Ink


And the outer boarder was made by using the watercolour stamping technique.


Clare Curd Crafts has such an array of ribbons to choose from. I choose this ribbon for it gorgeous subtle colour, that didn't take away too much from the rest of the card


Wednesday, 11 December 2013

Christmas with Clare Curd Crafts

Hiya craft friends,

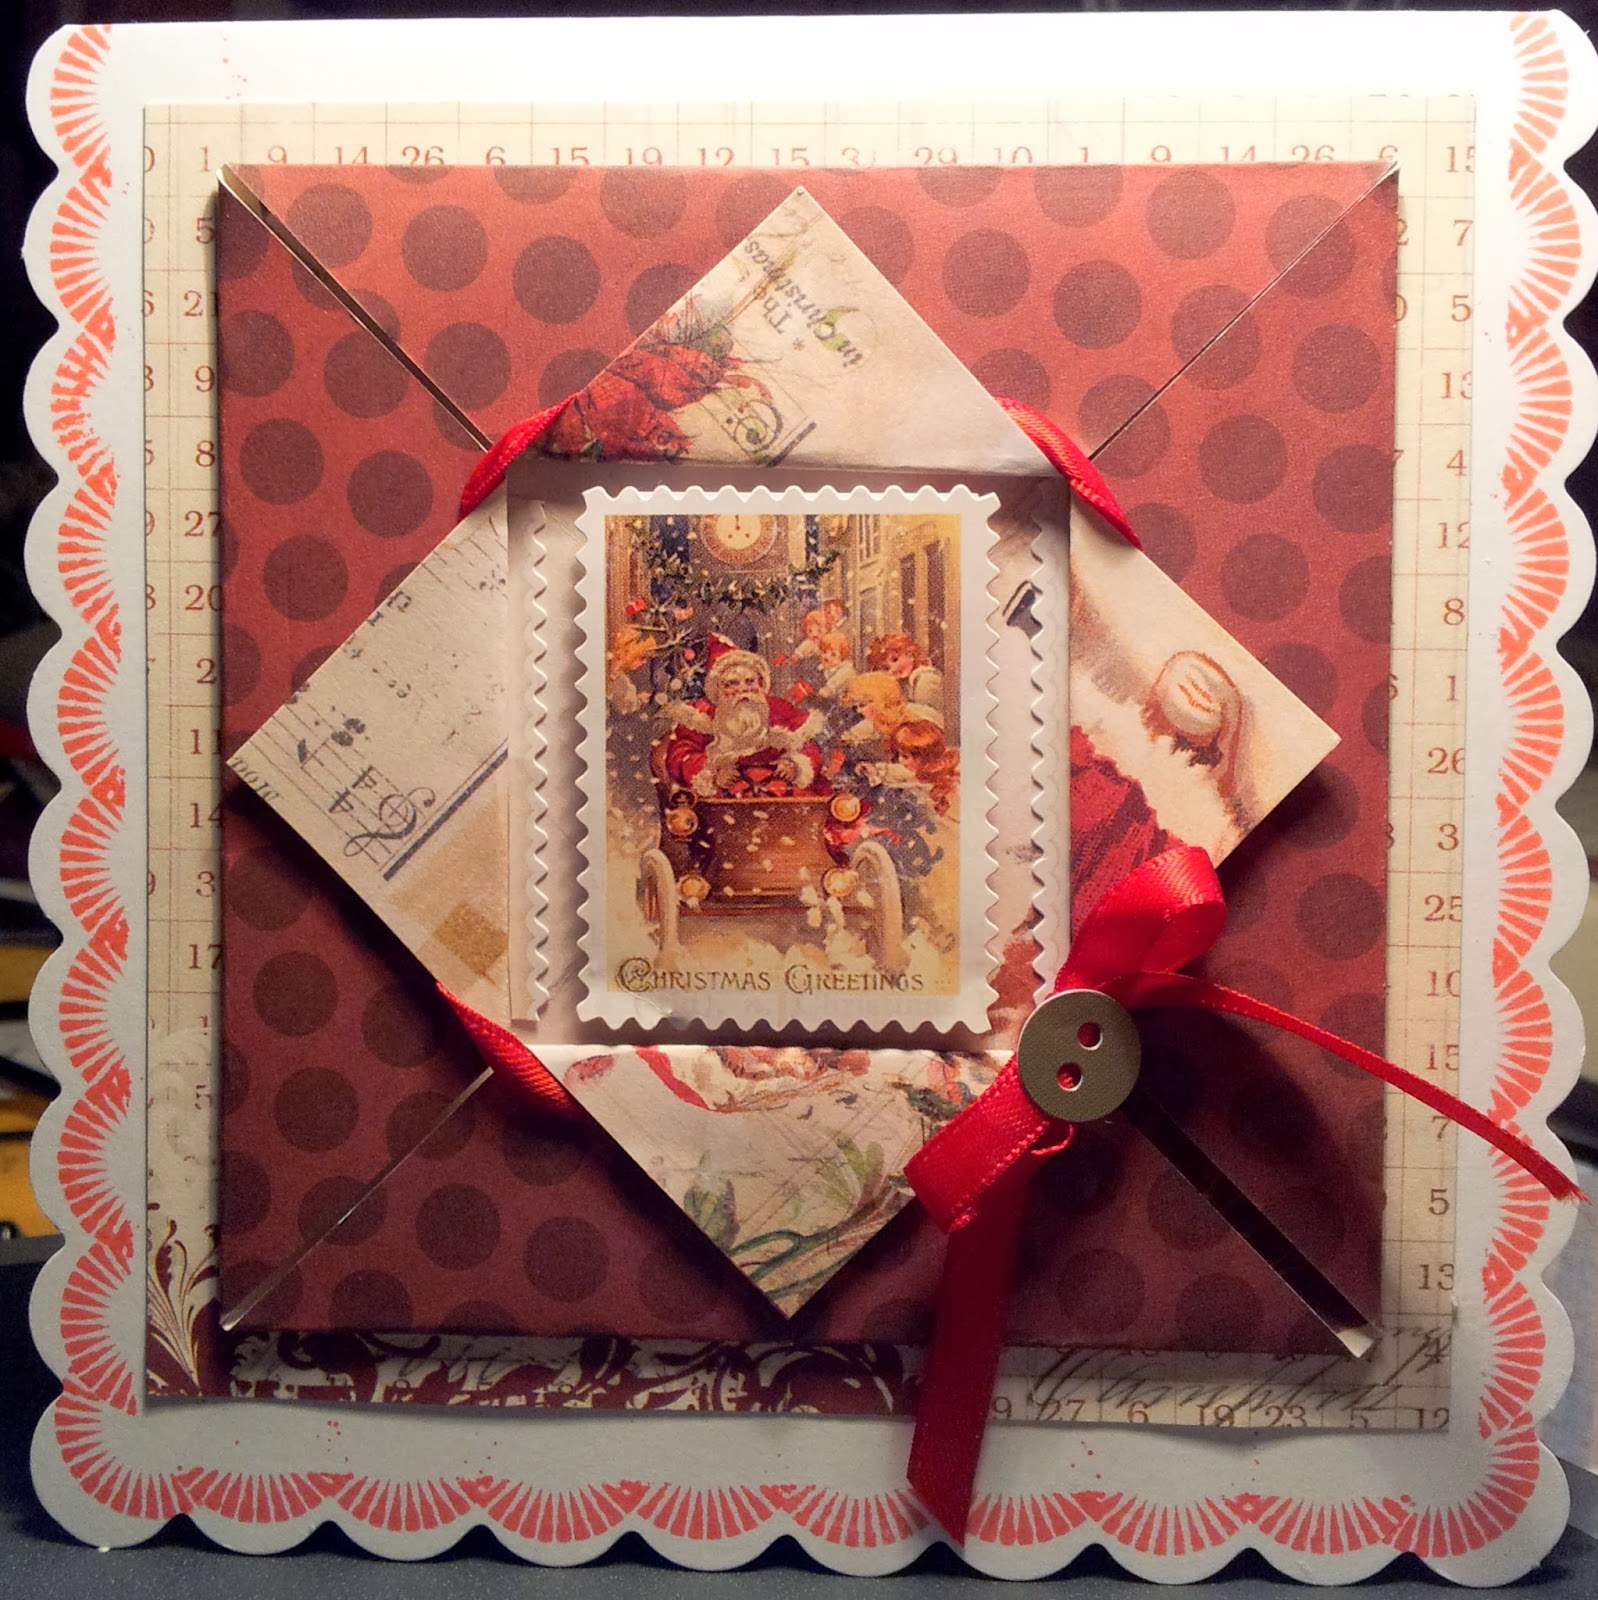
Today is a quick tutorial on how I made this folded scallop card, using the gorgeous My Minds Eye Vintage Christmas 6x6 paper pad, also the coordinating 12x12 sticker sheet and red satin ribbon. All from Clare Curd Crafts


The slideshow below will show you step-by-step how I made the card


See you next Wednesday


Wednesday, 4 December 2013

Christmas Bauble

Hi crafty friends,


 This is the first time I have made one of these and I really thought it would suit my Clare Curd Crafts design team goodies.

It may not look it, but these baubles are quite simply to make, a little time consuming but easy. And you can make them as modern or as traditional as you like, depending on the paper you use.

1. 
To make life easier, I used my Silhouette Cameo to cut out 20 large circles with a perforated triangle in the centre, (10 each of two paper designs) and 20 smaller (10 each of two paper designs). I have since found out that if you don't want any of the same patterned papers to be next to each other you have to use at least three colours and with 6, 6, and 8 circles of each color (wish I had found that out earlier to show you all, but you'll get the idea).


2.
Take the two sets of larger circles and fold them all into triangles
3.
Glue five of the triangles together and then glue the remaining two flaps together to form the top of the bauble


4.
Cut a length of to 6mm Red satin ribbon, fold it in half then tie a knot to form a loop.

5.
Thread the loop through the centre of the bauble top you have just made. I used the point of my scissors to poke it through


6.
Repeat the process again (without the ribbon), to form the base on the bauble).

7.
With the remaining ten glue as shown

8.
Then glue the top and bottom to the middle row of the bauble to the as shown

9. 
Now glue the top flaps of the middle row to the flaps on the 'top'

10.
Now do the same with the bottom

11.
You now have your bauble base

12.
Now take all the smaller circles and fold into triangles (I added five red red circles, which are not shown in this photo)

13. Glue these to the centre of the triangle of the bauble


14.
Using 10mm red satin ribbon, I tied a large bow around the loop

I really enjoyed making this and really want to experiment more with this kind of thing, so maybe 'Watch this space' :)

See you next Wednesday