Showing posts with label Deb Freeman. Show all posts

Monday, 24 March 2014

My umbrella

I was a naughty DT member last week and didn't get around to doing my post for Clare Curd Crafts . With a big inspection coming up at work I was working long hours and the week flew by, but today is my much needed day off, and what better way to de-stress than a few hours crafting.

When I want to totally relax crafting I go to my paints and  a canvas, todays is 7x5 inches in size. 

I have to apologise as there are some photos missing to the process of creating a mixed media canvas, but when I get going I forget to take pictures....oooops sorry :-/


I started with a good few layers of my chosen paint colours and when I was happy with the blending and the paint had dried I moved onto stamping.

I built the stamps up in layers (the secret to depth on a piece is lots of layers) I also used some spray paint.


I then added some texture using texture paste through some sequin waste and when it was dry dry rubbed some paint over it.

Now this is where I got carried away and forgot to take photos. I drew a template for the umbrella and then transferred the pieces onto my patterned paper, cut them out and stuck them to my canvas using ModPodge.


 Once the umbrella was stuck down I stamped and added my quote. 
The next step is optional but I like the effect it gives. Using either a black maker or black paint, whatever you are comfortable with, draw around the pieces of teh umbrella and blend the colour in. This will make the pieces pop and give some dimension to your canvas.

My final step was to apply some white rub ons for extra interest.


The items I used from Clares shop are as follows

My Mind's Eye Kate and Co. OXFORD LANE 6 x 6 paper pad


and 

Thursday, 13 March 2014

A lovely day

Hello!
The sun put in a very welcomed appearance yesterday and I think it was reflected in the card I was making, bright and cheerful


I used the 

My Mind's Eye Kate and Co. OXFORD LANE 6 x 6 paper pad 

and the 


start by decorating your base card if you wish, then cut a few narrow strips of the patterned paper and weave these together. Cut a picture tile, also from the paper pack, and mount this up on layers of 
coordinating papers to give some depth. Finally run a contrasting ink pads around the edges of your finished card.


Friday, 7 March 2014

Hello friend

Hello you crafty lovelies :)

A quick and easy card for you this week, using the gorgeous paper and stamps from the 

My Mind's Eye Kate and Co. OXFORD LANE 6 x 6 paper pad


and the 

My Mind's Eye Kate and Co. OXFORD LANE Stamp Set


I cut my base card to size and using a corner punch rounded the outer corners. Next I then covered it with  the fine strip paper which was cut a fraction smaller than the base card, also rounding the outer corners. I then distressed the edges using a blue ink pad. I then layered up the band for the front of the card, the lovely gingham paper and a couple of plain contrasting papers from my own stash. I cut the words using my Cuttlebug and a die. Then stamped and hand cut the telephone out and mounted it onto 3D foam.


Thursday, 27 February 2014

I loves a bit of Swagger

The Swagger paper collection that is. 

And that is exactly what I used for this weeks make.


The front of my card I folded back on itself and then applied my choice of paper to the front flap and inside the card.
I then worked on the 'topper' of the card, layering papers and inking the edges. 
I cut some banner shapes to match in with the piece I used with the rub on word. The other elements I've used are also from the rub on pack, adhered to card, cut out and mounted onto 3D foam.

Clare has some great new stuff in the shop so why not stop by.

See you next week


Thursday, 20 February 2014

check mate!

Hi again, these Thursday seem to come round quicker and quicker!!

Anyway this week I've used the 

    My Mind's Eye Kate and Co. OXFORD LANE 6 x 6 paper pad


and 

My Mind's Eye Kate and Co. OXFORD LANE Stamp Set


to create this manly card.


I'm undecided if the grungy background goes with the geometric lines of the papers but it's always good to try something different.

See you next week


Thursday, 13 February 2014

Fancy Pants


This week I used the Fancy Pants Swagger collection.


and 

This is a wonderful collection, very useful, with some great papers.


I layered up my chosen papers and used a rub on, applied it to piece of contrasting card and cut out and mounted on 3D foam.


Thursday, 6 February 2014

A sunny disposition

Hi :-)


 Today I've used the

and the clear stamp set that goes with the collection.


I love this collection, so fresh and sunny, and yet suitable for anyone as there is such a wide variety of papers and images in the collection.


I started off by picking a few papers from the pack and cut them into banner shapes.
I them picked out one of the small icon pictures that are included in the pad. I cut it out and mounted it onto a contrast piece of card.


I found my base card to stark against the patterned papers so I took out my beloved Dylusion sprays and added some splashes of colour. 
I also took the little dotty stamp and the flower from the stamp set and added them in a few places.

Then I mounted up  the banners, curling the points a little, and the image, raised on adhesive 3D foam pads.


Thursday, 30 January 2014

C.A.S


it's my turn to give you a little inspiration today and I came up with this very clean and simple, but stylish card.
 
 
I used some Flitter Glu and Mega Flakes, love these products! to create the substrate to cut my die from.
Then layered up my card base and sentiment on white card, keeping everything very clean.


Thursday, 16 January 2014

Hello, it's a quick and very simple card from me today. I do love working with lots of paints and layers but sometimes I like clean lines and simplicity.
 
I drew and cut out the musical note and applied a good coat of FlitterGlu. I then added a layer of the Mega Flakes in Royal Peacock. I rubbed over the flakes with  Scoochy foam to remove the excess.
 
 
I was going to just put the note straight onto my card base but it looked too plain, so I drew some musical staves and some notes.
 
I added my wording and we were done

 
I love the shine you get on the mega flakes.
 
Till the same time next week, bye x
 

Thursday, 9 January 2014

Burly bikes

It was only after I made this card that I realised Clare has put this stamp set and lots more into the 40% sale she has on at the moment
 

The background of the card is brayered with grey ink and over stamped using the small nut & bolt stamp, really love how this came out, gives the card a grease monkey look. The motorbike is stamped in grey ink and layered onto black card.
The patterned paper is from the Carta bella well Travelled pad
I cut a couple of cute little banners and attached them.
 
 
A bit of distressing on the edges and this manly card is finished.


Friday, 27 December 2013

Looking forward

I hope you all had a lovely Christmas. Mine was peaceful, spent in the company of my husband and our two Sons. Our daughter and her partner couldn't join us as she was unfortunately working, so I made them both a 'takeaway' Christmas dinner, which her boyfriend called round and picked up so she had a good meal waiting for her when she got home at 8pm.
 
I was thinking of the coming year and came across a lovely quote online, which I wanted to use on an art journal page
 
“For last year's words belong to last year's language
And next year's words await another voice.”
T.S. Elliot


I started off adding a coat of gesso to my page, and then using a collection of paints, inks and Dylusion sprays added colour

 
The colour was added in layers.

 
interest and texture added by using stencils and sequin waste.


some splatters are added with Dylusions

 
just keep adding layers until you are happy with what you see.

 
I stencilled through a face stencil using texture paste, and when dry I re-stencilled using a black permanent pen.
 
 
I added some pieces of masking tape and some Mega Flakes to give more texture.

more stamps are applied and some details using a black pen.

some white paint drips to lighten the page.


the words of the quote are torn to size and then added to the page, you could if you wanted hand write on your page.

 
 list of items I used from Clare Cure Crafts


Thursday, 19 December 2013

Simply does it

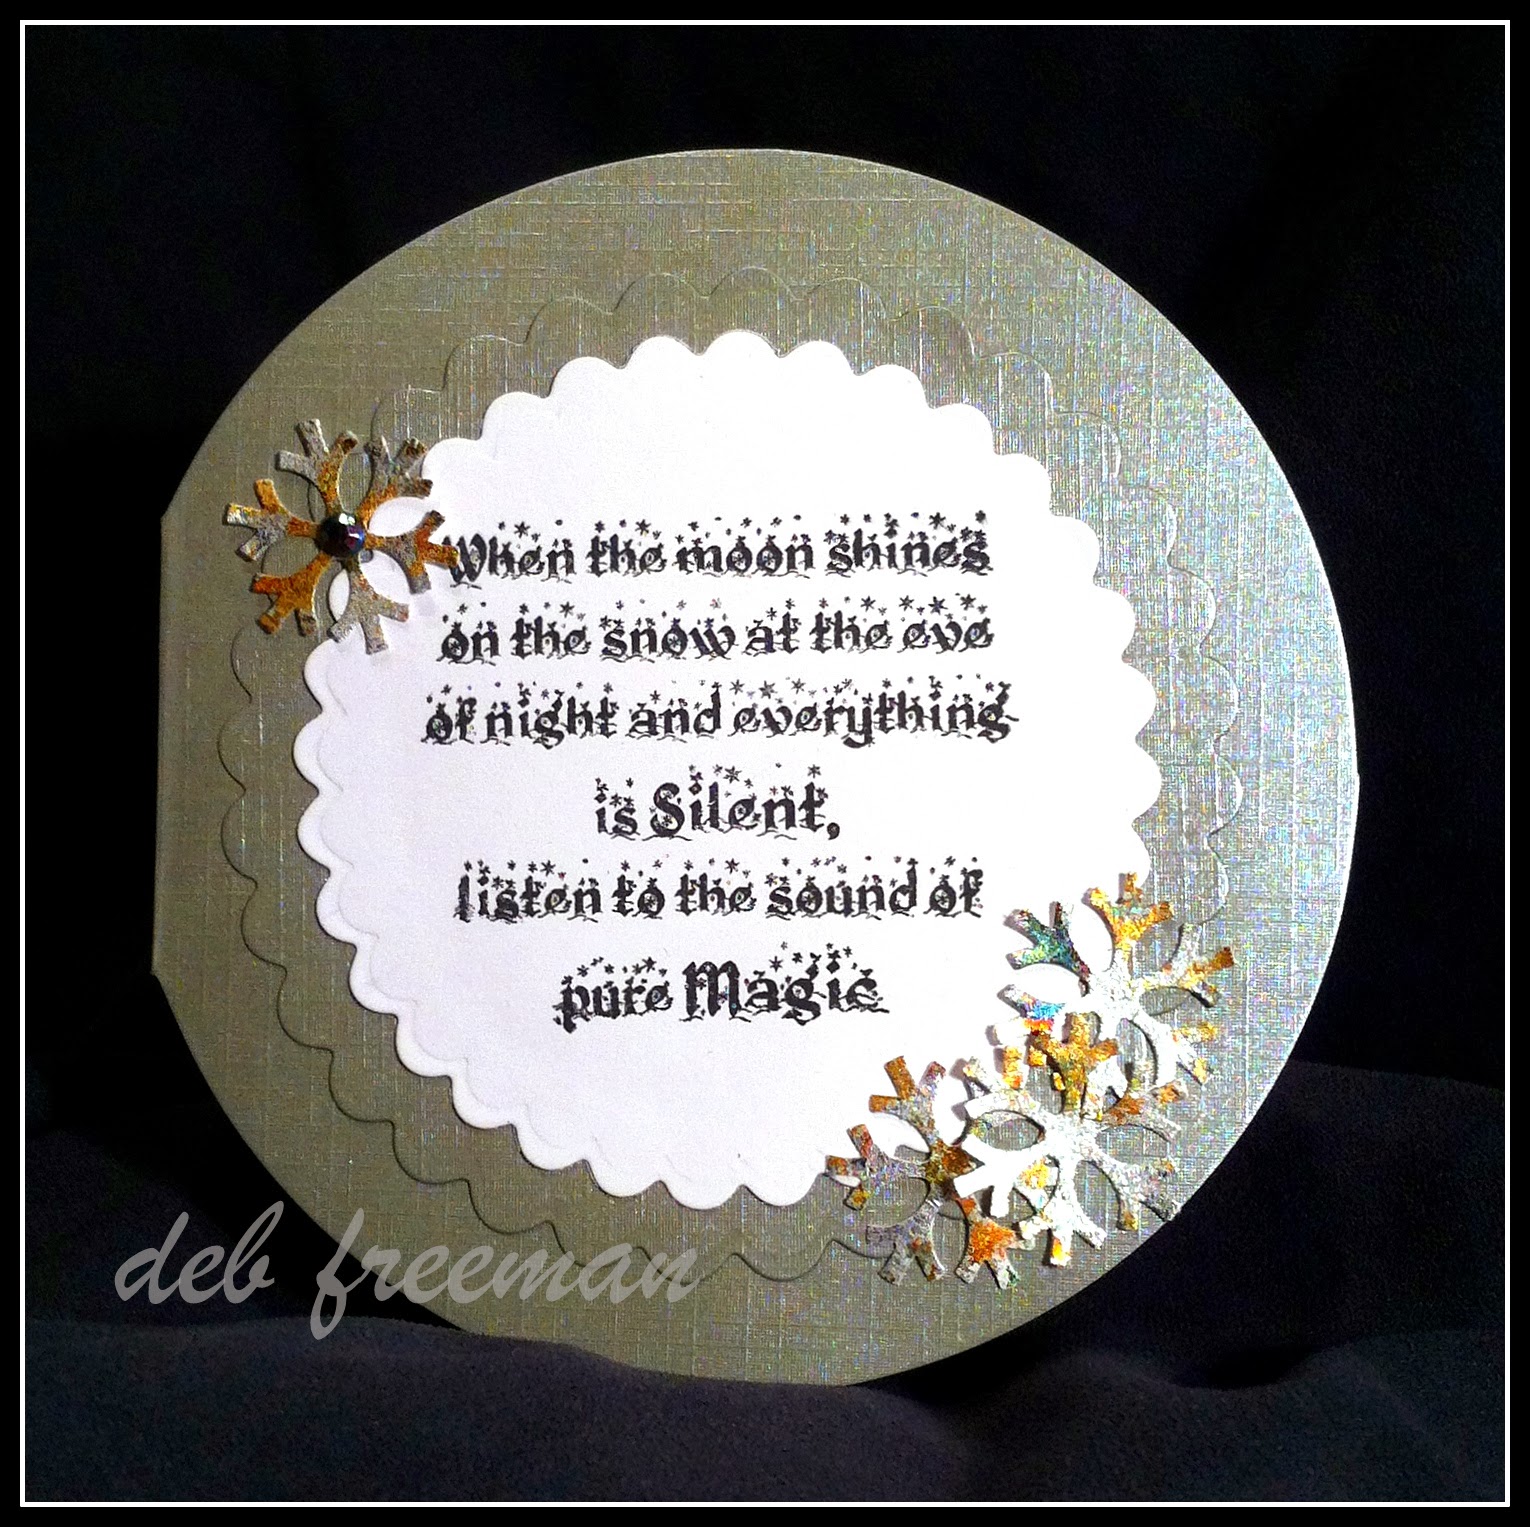
Oh my how close is Christmas now!! And if you are anything like me then you are rushing round trying to get everything bought, wrapped and delivered and there just isn't enough hours in the day, and then to find out you've missed out on making a couple of cards.....disaster. So with that in mind I thought I'd do a quick and simple, but stylish card this week for Clare Curd Crafts.
 
I used a circle card blank and cut a layer from another card blank, using a set of nesting dies and my good old Cuttlebug to give a bit of depth to the card.
 
I then stamped the quote from the Here Comes Santa stamp sheet, by IndigoBlu, and cut this out using  a smaller die.
 
I then took a sheet of card that I had covered in Mega flakes, both the Flakes and FlitterGlu are available here, and punched out a few snowflakes to embellish the card.
 
Add a single gem to the top snowflake and you are done.   


I think in total this card took maybe 10 minutes!
 
As I won't be posting again this side of Christmas I want to take this opportunity to wish you all a Happy peaceful Christmas


Thursday, 12 December 2013

snowflake box

Hi everyone, I was a little stumped this week with what to make but that soon solved itself when I came across a lovely little box template whilst trawling Pintrest. The template for this box is available on Extreme Cards blog.
 
I started out printing off the template and because the card  I wanted to use was too thick for my printer I drew around the template.
 
I then carefully cut the pattern out.

 
Next step is to score along all the lines and fold them.

 
Now glue the sides together and stick the bottom onto the box. I also cut another piece to put inside the box to give me extra support on the base.


You should now be able to close your box and the lovely snowflake will appear.


Now to decorate! I used the pretty snowflake stamps from the Winter Critters set of stamps. I stamped them in Flitter Glu and then applied Mega Flakes in Royal Peacock
 
I then cut this piece into six small pieces to attach on the sides of the box.
I finally added a little glitter to the snowflakes and to the large snowflake on the top of the box.


Hope you like this little box, I think a few on the Christmas dinner table with after dinner mints in would be a nice touch.