Showing posts with label Paula Pascual Stamps. Show all posts

Wednesday, 18 December 2013

The humble envelope takes centre stage

Hiya crafty friends,

Where would our handmade cards be without the envelope? 

So I thought this week I would take the humble envelope and let it take centre stage for a change :)


 1. Firstly, I cut an envelope using my Silhouette Cameo and I will be using the My Minds Eye Vintage Christmas stamp set

2. I then masked the 'front' of the envelope ready to decorate

 3. The inks I am going to use are Tea Dye and Vintage Photo Distress Ink...

Before I apply any ink I have masked the centre so there is a space to write an address.

4. I applied some Tea Dye ink all the way around fading towards the masked area in the centre

5. Now, taking the Vintage Photo Distress Ink and the swirl stamp from the Vintage Christmas set...

I stamped, overlapping the masking tape, on the top and bottom edge on the envelope front.


6. For the side edges inked the right half of the stamp and stamped to bottom corner...
 I then stamped the left half of the stamp and stamped the top corner
 Repeat on the opposite side

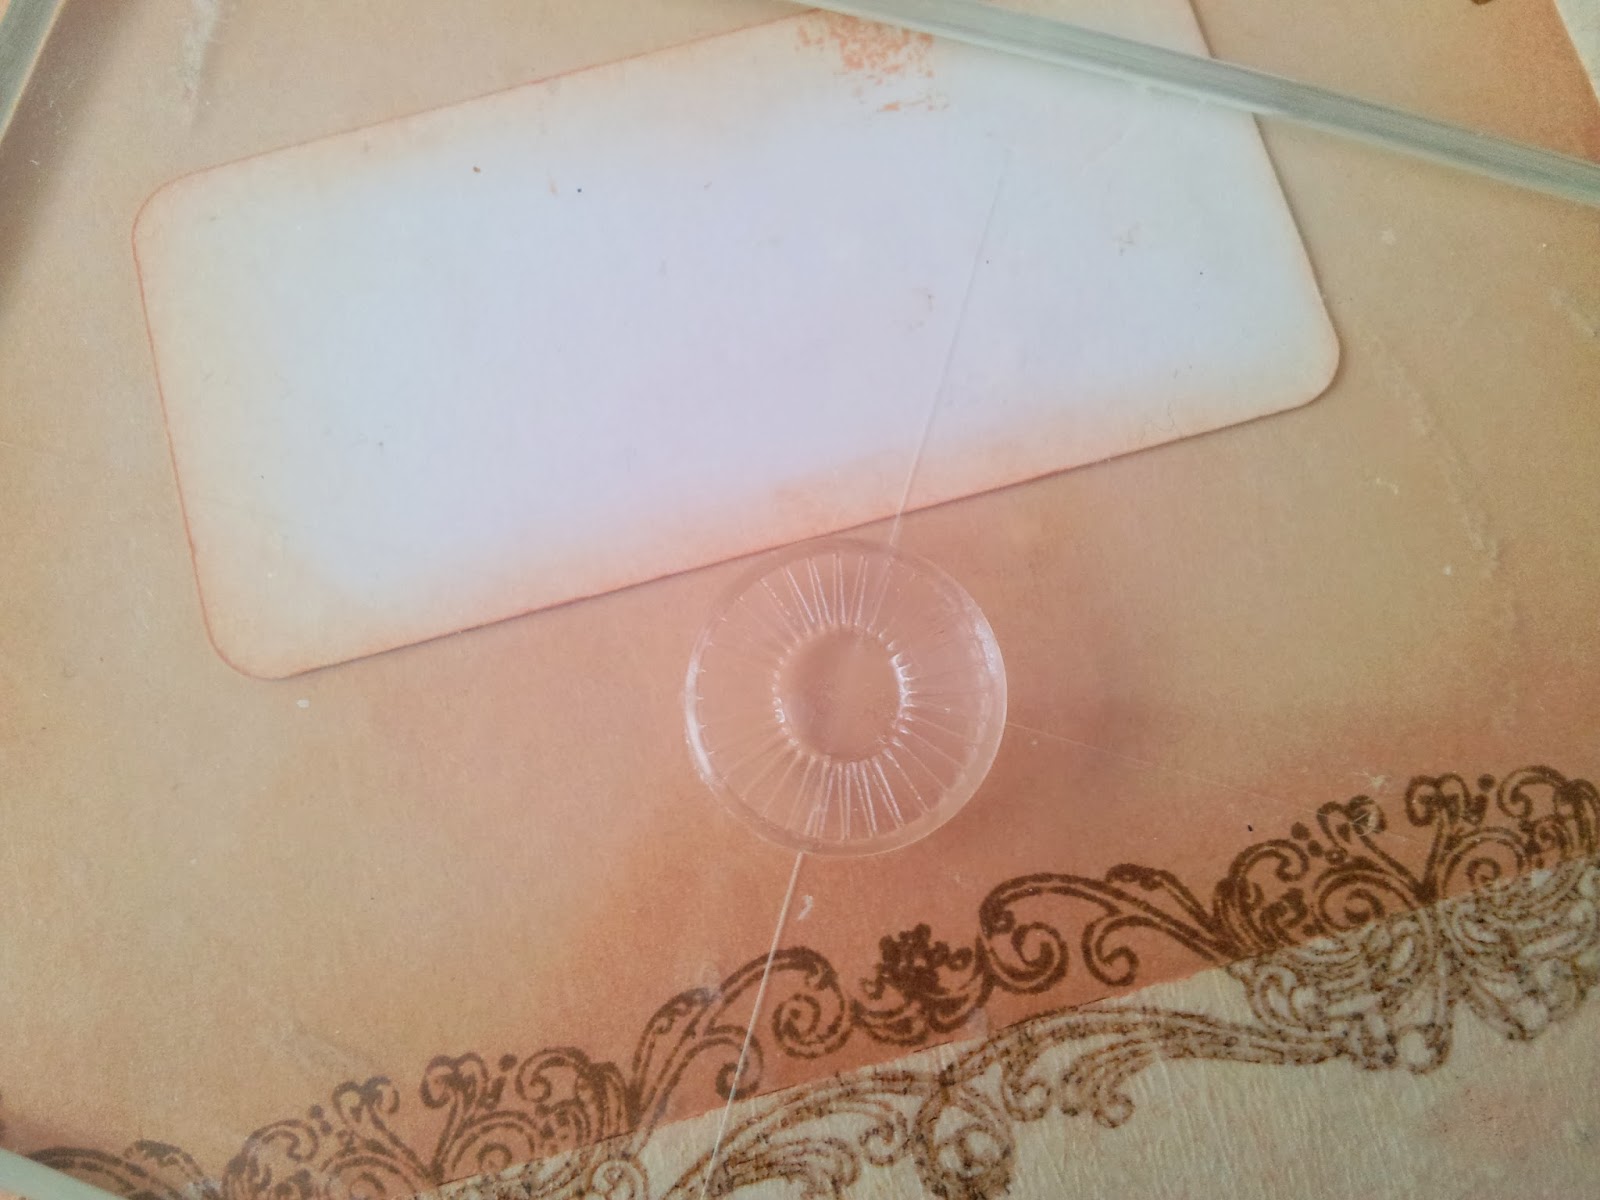
7. I took the circle stamp from the set...
  and again overlapping the masking tape, I filled the the gap in the side borders

 8. Before I took the masks off I took an Inkssentials White Pen and added faux stitching around the address box.

9.  After removing all the masking
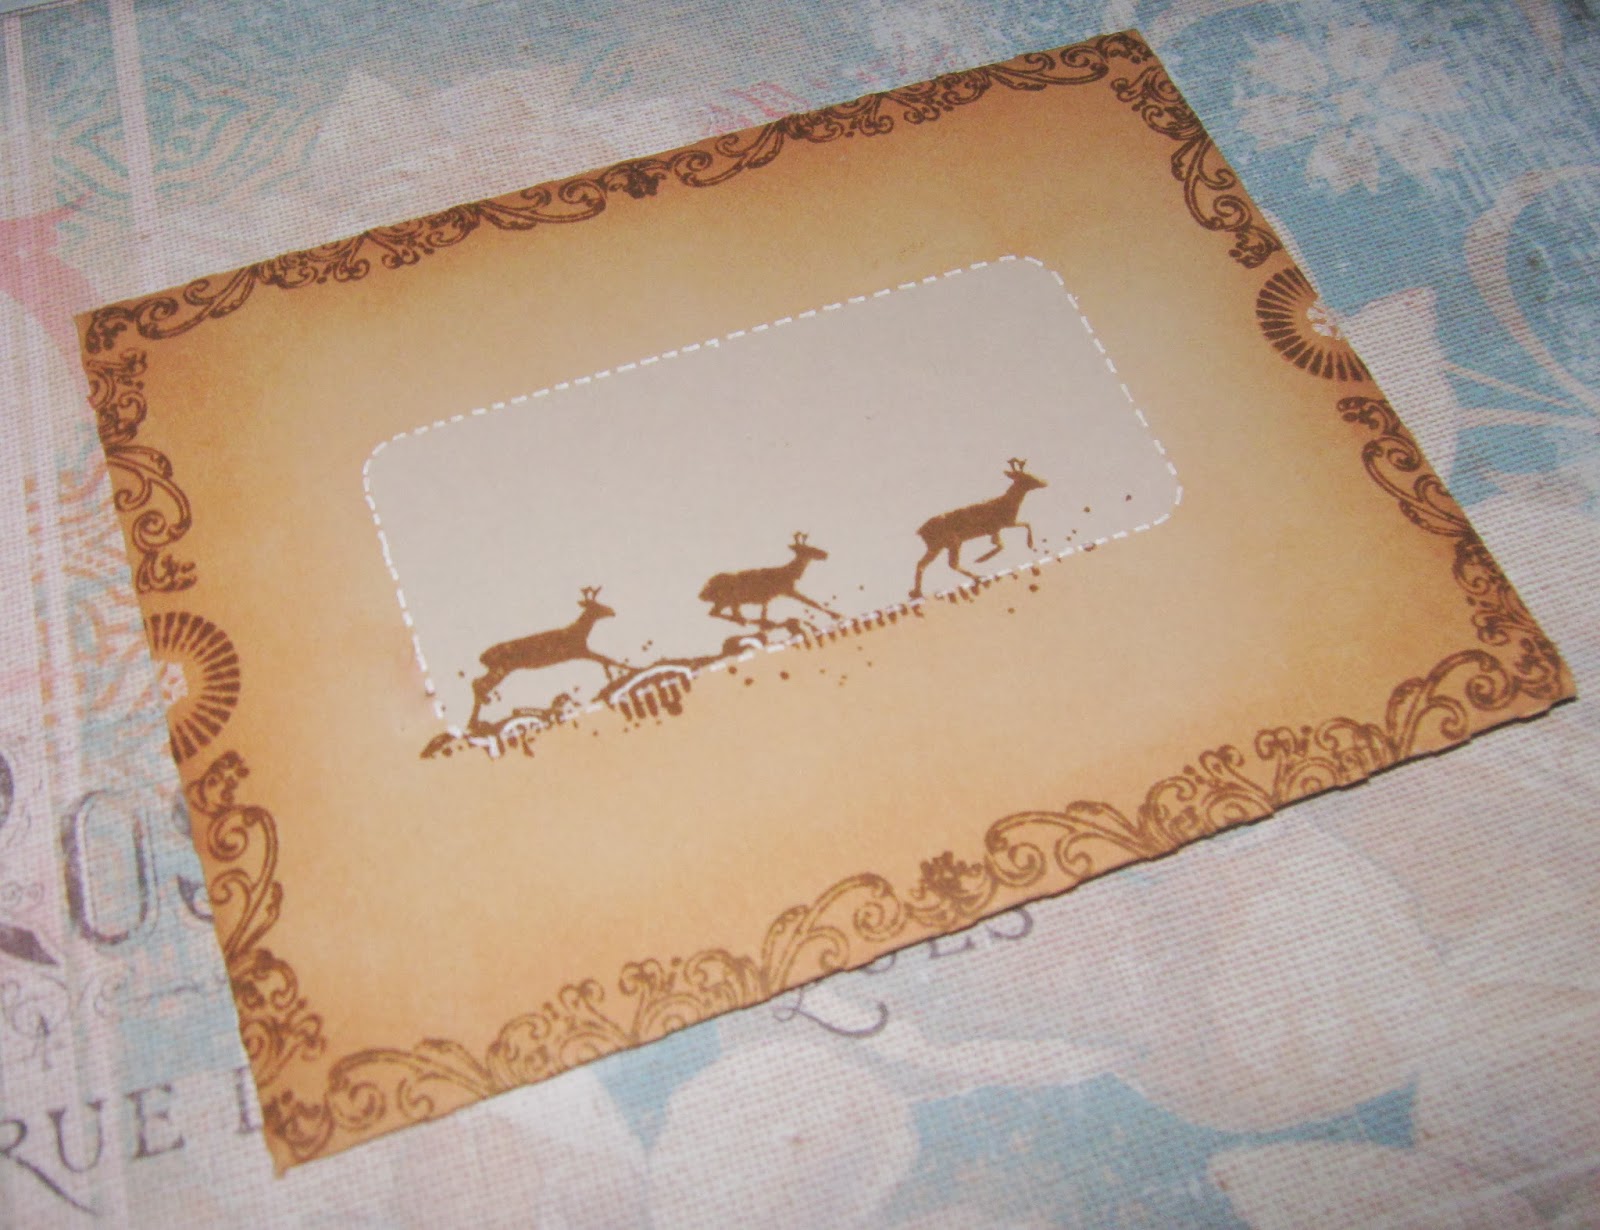
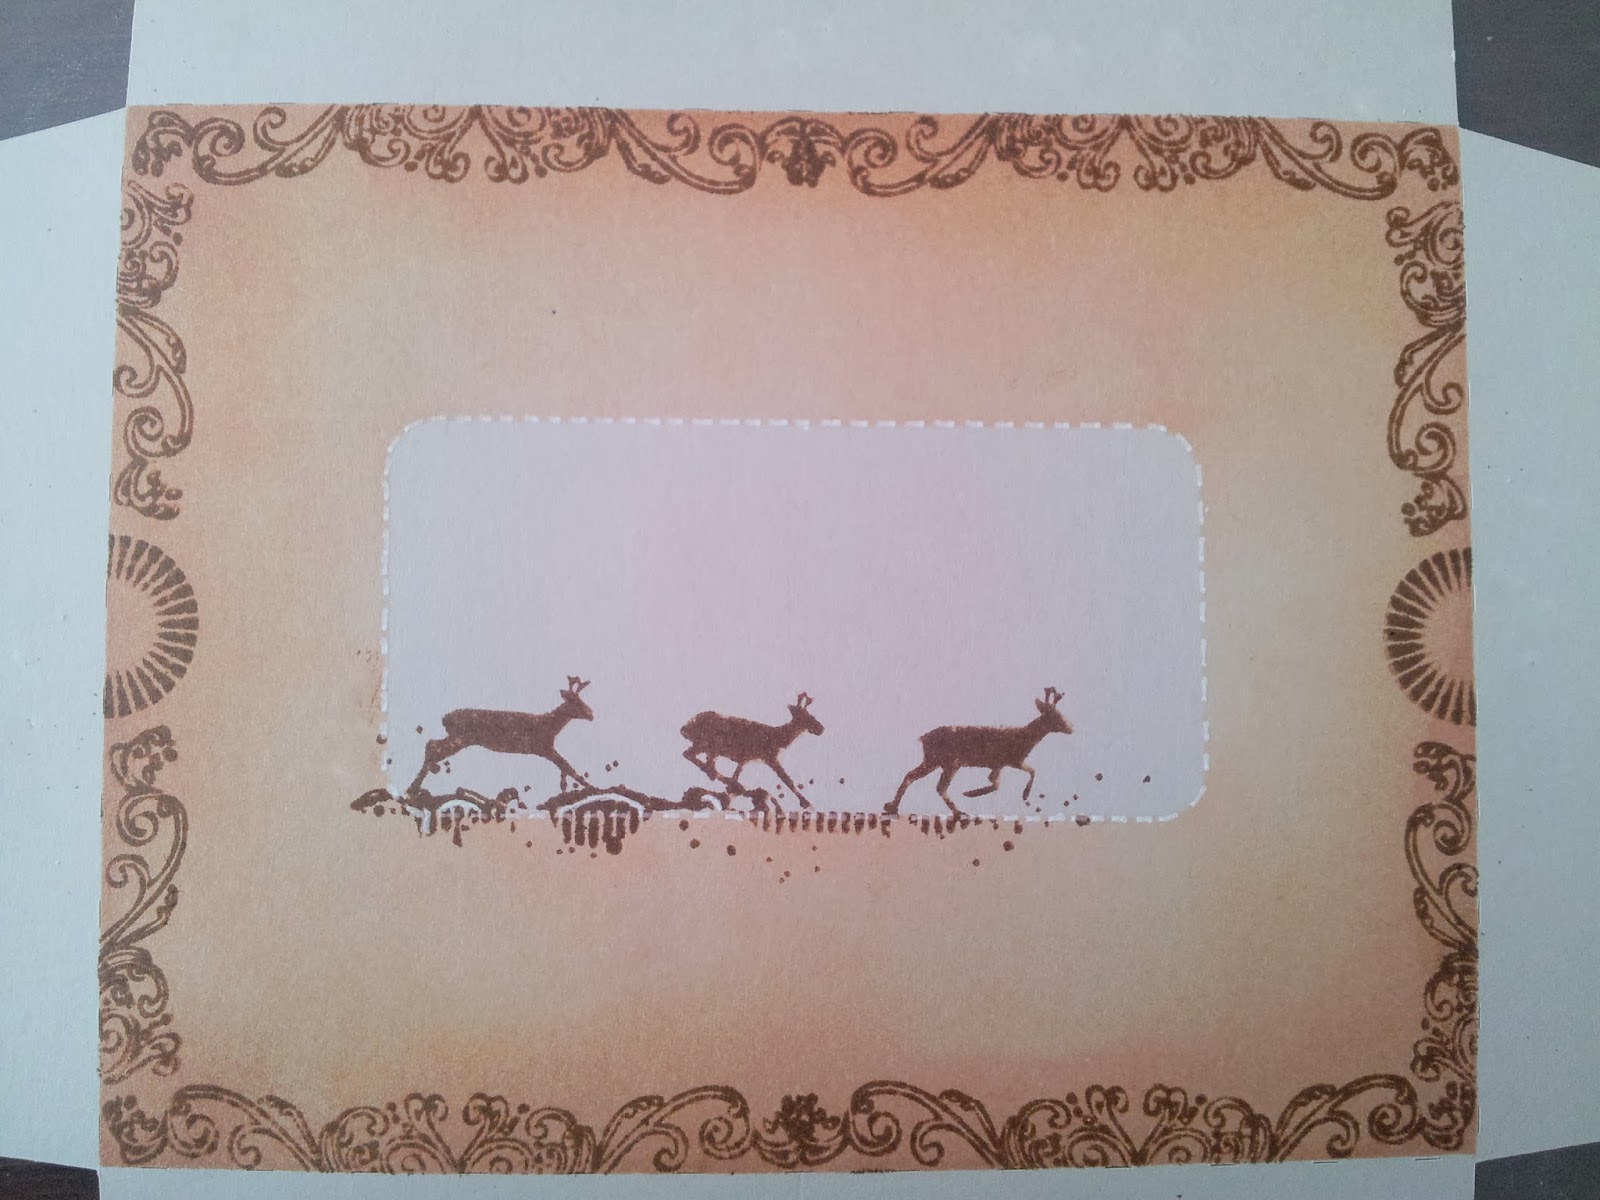
 I stamped some reindeers over the edge of the address box


10. Now onto the back. I masked off the folded edge of the bottom flap
 and as I did with the front. I used Tea Dye Distress Ink all over...
 and the using the stowflake stamps from the Jolly Holly Christmas Tag and Paula Pascual - All Year Round stamp sets

11. I only distressed the top of the side flaps as this will all you will see

12. I distressed the closure flap...
 and masked a boarder and stamped some more snowflakes


And there you go a plain envelope has a face lift

Thanks for visiting and see you next Wednesday


Wednesday, 6 November 2013

Christmas Lights

I'm beginning to feel a bit Christmassy now. And Christmas crafts are on of my favourite things to do.

For this weeks Clare Curd Crafts DT project I have made some Christmas Tealight (the battery operated kind) holders, using the Paula Pascual Stamps - All Year Round set and some Memento Ink Pad - TUXEDO BLACK.


See you next week and happy crafting


.


Wednesday, 30 October 2013

Hiya crafty friends,

Hope you are all keeping safe and warm. The weather really has changed now. My winter clothes are well and truly out of the bottom of the wardrobe now...brrrr!

The change in temperature is also a sign of something else...Halloween. So this week I thought I'd make a little something with that in mind, a spiders web milk carton. These would be great to make for favours at a Halloween party.


1. 
Firstly, I add a cobweb design to a milk carton cut file. I also made four rectangles of patterned paper for the Cosmo Cricket Tea for Two Patterned Paper Mini Deck

Which when cut out, look like this

2.
I added double sided taper around all the web windows...
 And then place each of the rectangle patterned paper over each window

 I was left with some double sided tape showing, so I adding some tape over it so the inside of the box was not sticky.
 Once turned over, you can see the patterned paper showing through the web

3.
I then folded all the score lines, to make the construction of the box easier

4.
Wrap around and gluing the tab starts the consruction


5.
Fold in and glue the bottom flaps, making sure the box stays square

 Allow the glue to dry a little

6.
Whilst the glue was drying I made a sentiment embellishment for the front, again using the Cosmo Cricket Tea for Two Patterned Paper Mini Deck and also the incredible handy Paula-Pascual-Stamps-All-Year-Round stamp set.


 Which I adhered to the front of the carton, using foam pads.

7. 
I also embellished the top opening of the carton...
 ...which I then secured with twine

8. and the last finishing touch was I cutout spider, wrapped with twine


See you again next week