
Hiya crafty friends,
Where would our handmade cards be without the envelope?
So I thought this week I would take the humble envelope and let it take centre stage for a change :)

1. Firstly, I cut an envelope using my Silhouette Cameo and I will be using the My Minds Eye Vintage Christmas stamp set

2. I then masked the 'front' of the envelope ready to decorate

3. The inks I am going to use are Tea Dye and Vintage Photo Distress Ink...

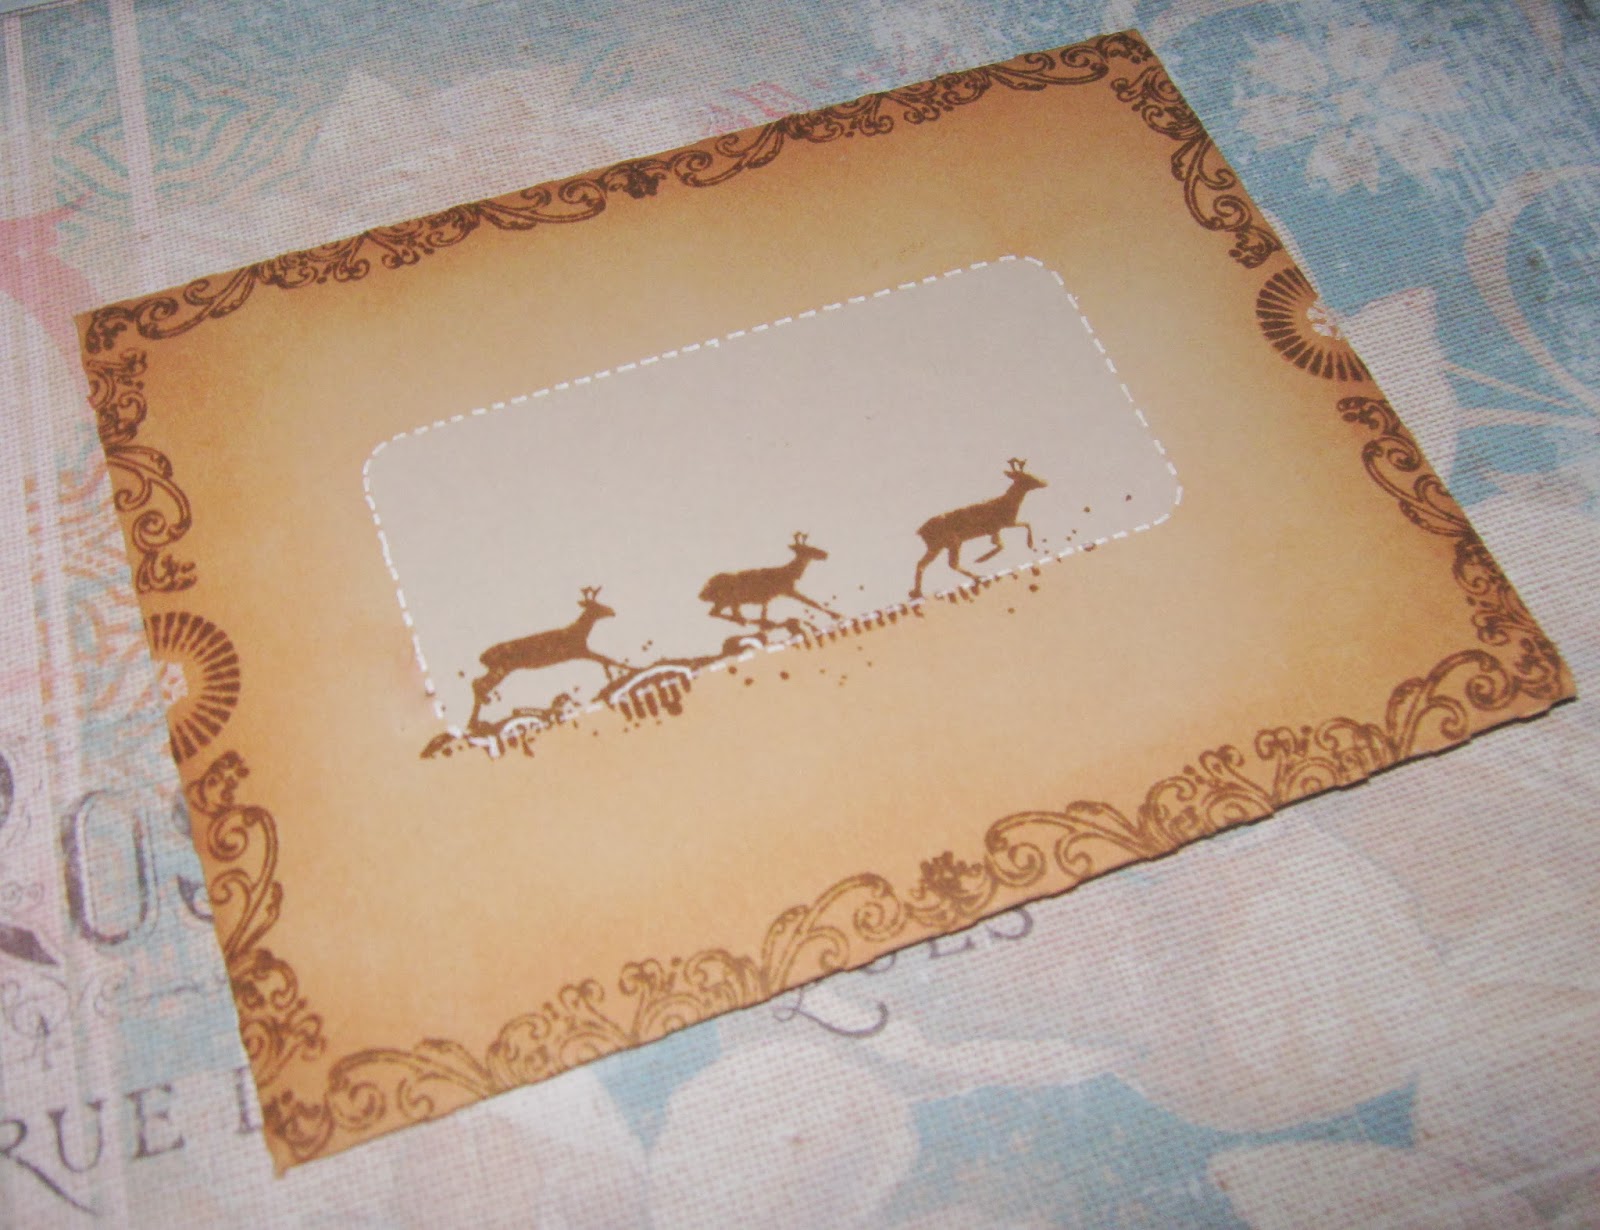
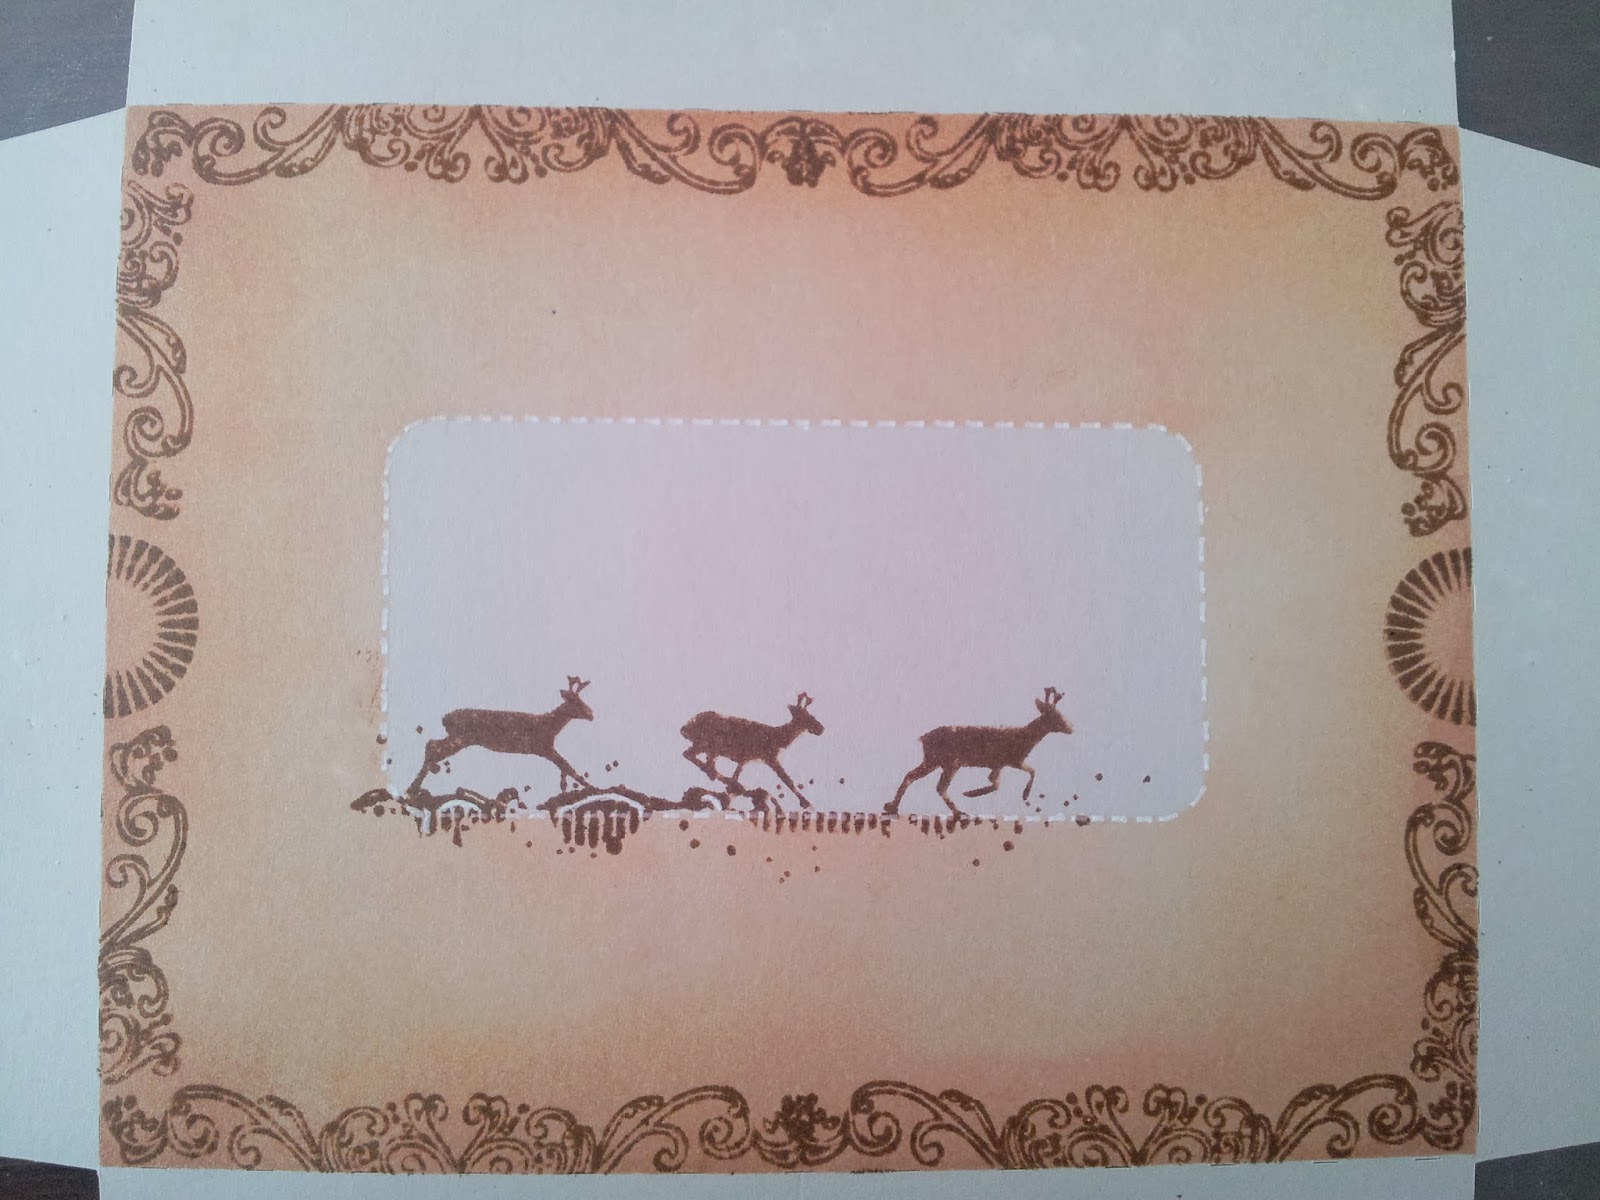
Before I apply any ink I have masked the centre so there is a space to write an address.

4. I applied some Tea Dye ink all the way around fading towards the masked area in the centre

5. Now, taking the Vintage Photo Distress Ink and the swirl stamp from the Vintage Christmas set...

I stamped, overlapping the masking tape, on the top and bottom edge on the envelope front.


6. For the side edges inked the right half of the stamp and stamped to bottom corner...

I then stamped the left half of the stamp and stamped the top corner

Repeat on the opposite side

7. I took the circle stamp from the set...
and again overlapping the masking tape, I filled the the gap in the side borders


8. Before I took the masks off I took an Inkssentials White Pen and added faux stitching around the address box.

9. After removing all the masking


I stamped some reindeers over the edge of the address box

10. Now onto the back. I masked off the folded edge of the bottom flap

and as I did with the front. I used Tea Dye Distress Ink all over...

and the using the stowflake stamps from the Jolly Holly Christmas Tag and Paula Pascual - All Year Round stamp sets

11. I only distressed the top of the side flaps as this will all you will see

12. I distressed the closure flap...

and masked a boarder and stamped some more snowflakes


And there you go a plain envelope has a face lift
Thanks for visiting and see you next Wednesday

No comments:
Post a Comment